Installing WSL on Windows 10 Fall Creators Update
The following steps illustrate how to install the Windows Subsystem for Linux (WSL) on Windows 10 Falls Creators Update. The procedure is slightly different from previous versions of WSL, because the possibility of using different distributions was added in this update. Each distribution can be obtained from the Microsoft Store.
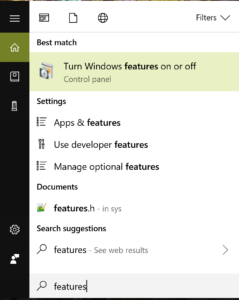
- The first step consists in launching the tool to add extra features to Windows 10. This tool can be found by pressing Win + S, and typing “Features”. The menu will show the icon in the figure.
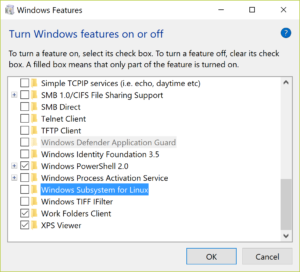
- In the tool, scroll down and select “Windows Subsystem for Linux”. Check the box, and click on OK.
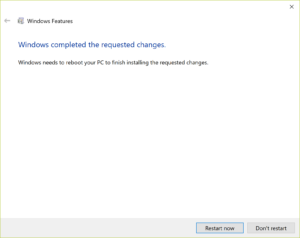
- Soon after, Windows will confirm the installation was successful. A reboot is necessary to complete it.
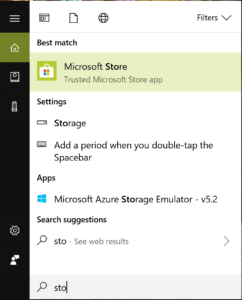
- Once the system has rebooted, open the Microsoft Store app, which can be found pressing Win-S, and searching “store”.
- In the Microsoft Store app, search for Ubuntu, and select the Ubuntu app.

- Click on the “Install” button. After the installation is complete you should see the following screen, with the “Launch” button.
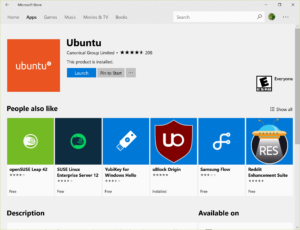
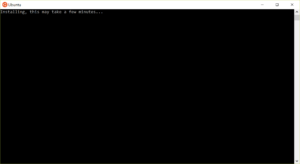
- Press the “Launch button”. A terminal will open, asking to wait for the installation to complete.
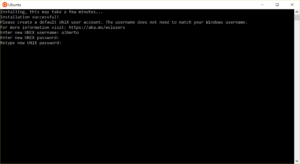
- When the installation is complete, the system will ask to insert a user name for the UNIX system, and the corresponding password. Select the user name you prefer, and specify a secure password.
- After the password is confirmed successfully, the terminal prompt will appear, indicating that WSL is working properly, as shown below.
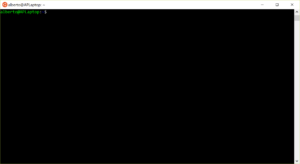
The installation can be tested by typing some commands like free or df, which report the amount of free RAM and disc space, respectively.
The next part will focus on installing and configuring OpenFOAM on Ubuntu running under WSL.
Enjoy! 
This offering is not approved or endorsed by OpenCFD Limited, the producer of the OpenFOAM software and owner of the OPENFOAM® and OpenCFD® trade marks. Alberto Passalacqua is not associated to OpenCFD Ltd.